Search This Blog

Wednesday, August 18, 2010

Baby Shower Cards Tutorial


I made these for my friend Danielle's baby shower which is in September. They're super easy to make, and look super cute!

You'll need:
-Coordinating Cardstocks (I used Nana's Nursery )
-Cream or White Cardstock
-Adhesive
-Pink Ink (I used A La Mode )
-Paper Cutter
-Baby Feet Stamp (Or other cute stamp)
-Letter Stamps
-Vellum Envelopes (optional)

Step 1 Cut: Cut one piece of cardstock into a 5x5 in square. Cut coordinating cardstock into a 5.5x11 in rectangle. Cut White/Cream cardstock into 2x2 in square.

Step 2: Fold the rectangular piece of cardstock in half. Stamp baby feet or other stamp on 2x2 square and glue to center of 5x5 in square. Then, glue 5x5 in square onto the folded piece of cardstock.

Step 3: Next, stamp either "It's a girl!" or "It's a boy!" on the front of your card. For a finishing touch stamp the baby feet on the front of the envelope!

Peanut Butter Cupcakes


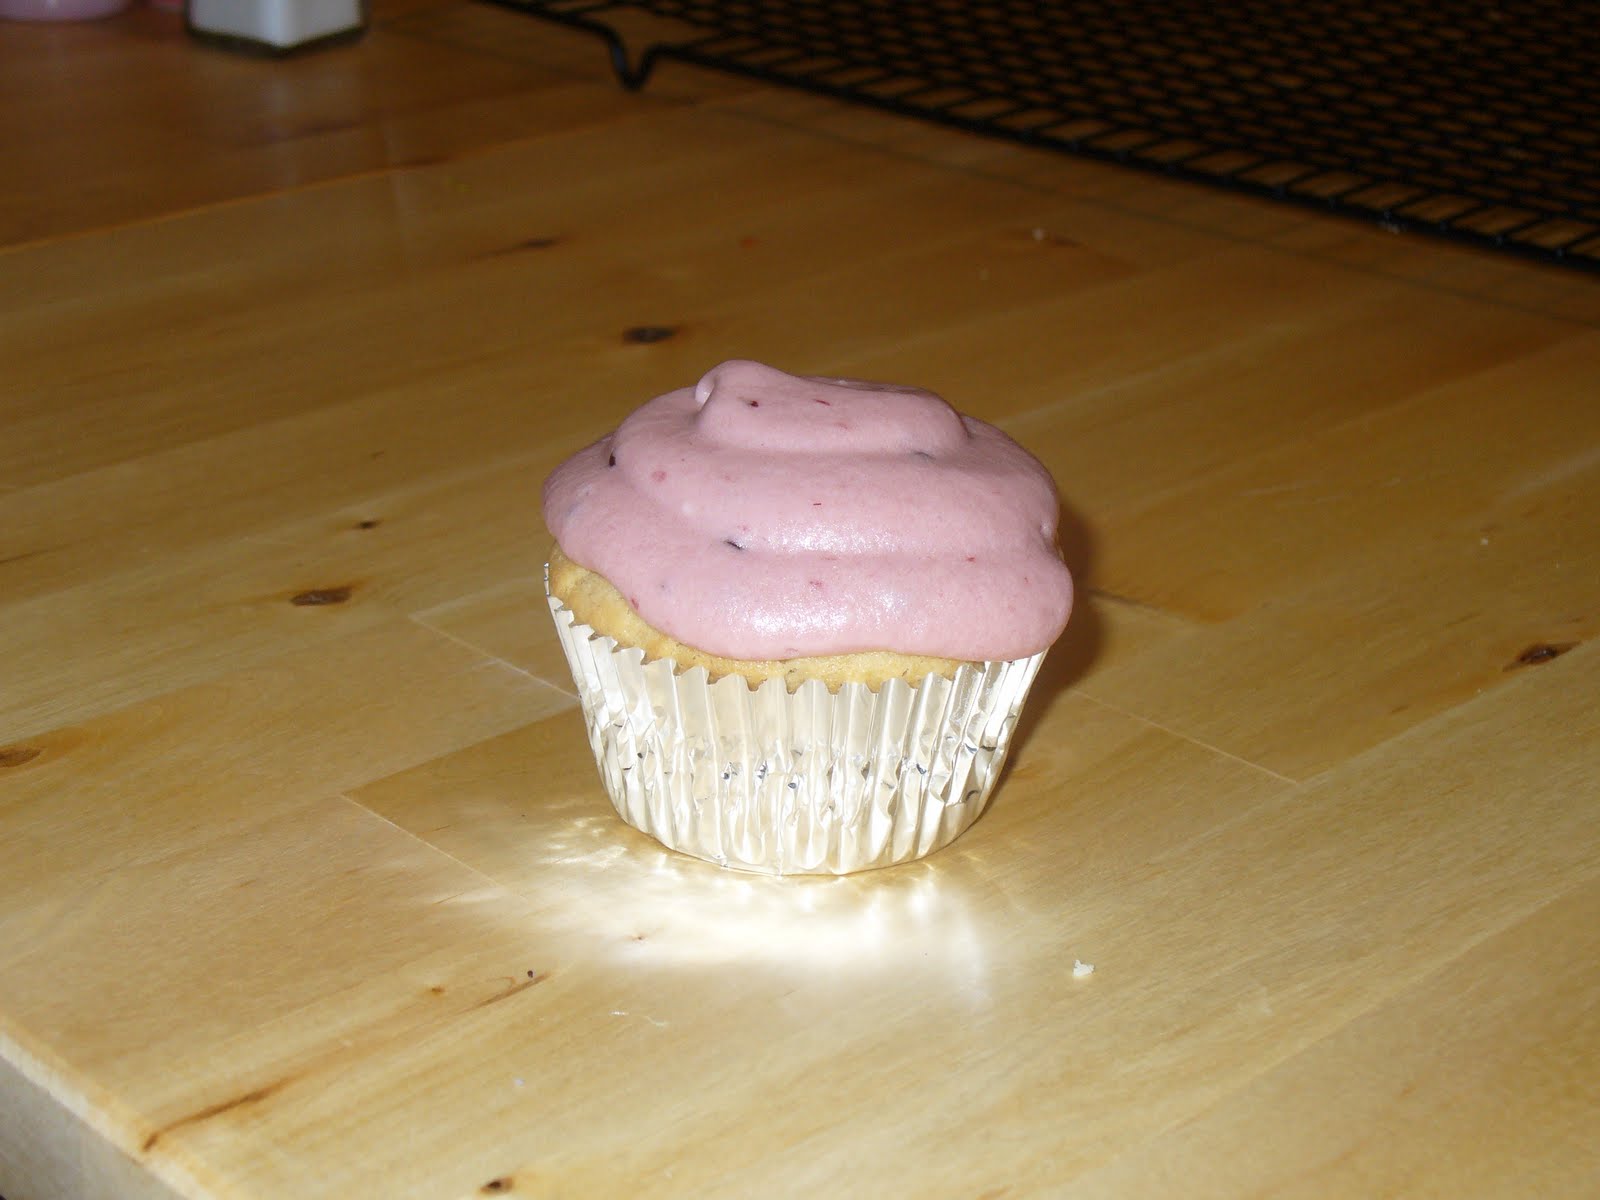
So, I wanted to make peanut butter and jelly cupcakes, and this is what I came up with. They look pretty cute, but I don't think you get the full effect of a PB&J sandwich. Next time, I think I'll make a jam filling instead of making a jam frosting.

Saturday, August 14, 2010

Key Lime Cupcakes


Before my sister asked me to make the sushi cake, I was already planning on making her some key lime cupcakes for her birthday. I found the recipe in a cookbook I have called "500 Cupcakes" It sounded so yummy I decided to make them as well.

They were the first cupcakes where I made the batter from scratch. The consistency of the batter was more like cookie dough. It tasted really good though. Which probably had a lot to do with the fact that there was a whole cup of butter in there.

One thing I did change about the recipe is the frosting. The recipe called for a meringue. I made a lime cream cheese frosting instead. I think that was a good decision because the cupcakes themselves weren't very sweet, and a meringue wouldn't have added much sweetness at all.

Sushi Cake


My little sister turns 20 on Tuesday! Today she asked me if I'd make her a sushi cake. Great idea! Only, I wish she would have asked me sooner so I could have experimented a little more to make it better. (It's for her birthday dinner tomorrow at my mom's house) Anyway this is how it turned out. Not bad, but could have been MUCH better. I was planning on making a tutorial as soon as she asked me, but I think I'll wait until I perfect the technique to post one.

Friday, August 13, 2010

Chocolate Chip Cookies


Today was my day off. So, I cleaned and baked. I love having a clean house with the aroma of freshed baked cookies in the air!

Thursday, August 12, 2010

Dinner Tonight


I made Chicken Florentine, fried redskin potatoes, and lemon asparagus. Yummm.

Monday, August 9, 2010

Elmo & Cookie Monster Cupcakes


My sister-in-law asked me to make some cupcakes for the son of a friend of hers. She wanted Elmo and Cookie Monster cupcakes for his first birthday. When she told me, I was nervous and excited. Usually I just copy ideas from two cupcake books I have, but this time I had to come up with the idea on my own. I looked on line a bit at other peoples creations, and mixed their ideas with ideas of my own, and this is what I came up with!

Step 1: Prepare all of the embellishments. Use orange jelly beans for Elmo's nose. Remove the cream from Oreo cookies, and split them in half for the mouths. The hard part is the eyes! Lay out a sheet of wax paper on a cookie sheet. Then, melt some white chocolate and spread it on the wax paper, with a spoon, in a small circle. (about the size of a quarter) Place the circles in the freezer for a few minutes to harden. After the white chocolate circles are ready, melt some semi sweet chocolate chips. Use a toothpick to spread the chocolate on the flat side of the white chocolate circles in a small circle for the pupils. (Spread the chocolate in the center for Elmo's eyes and off to the side for Cookie Monster to give him that crazy look)

Step 2: Dye your frosting using food coloring. *Note: I only had regular food coloring which is why my Elmo looks more pink than red. I think a more expensive gel food coloring would produce a more red frosting.

Step 3: Put your frosting in a piping bag with a star tip to give the cupcakes a "fuzzy" appearance. Cover half the cupcakes with red, and half with blue.

Step 4: Assemble your cupcakes so they look like Elmo and Cookie and your done!